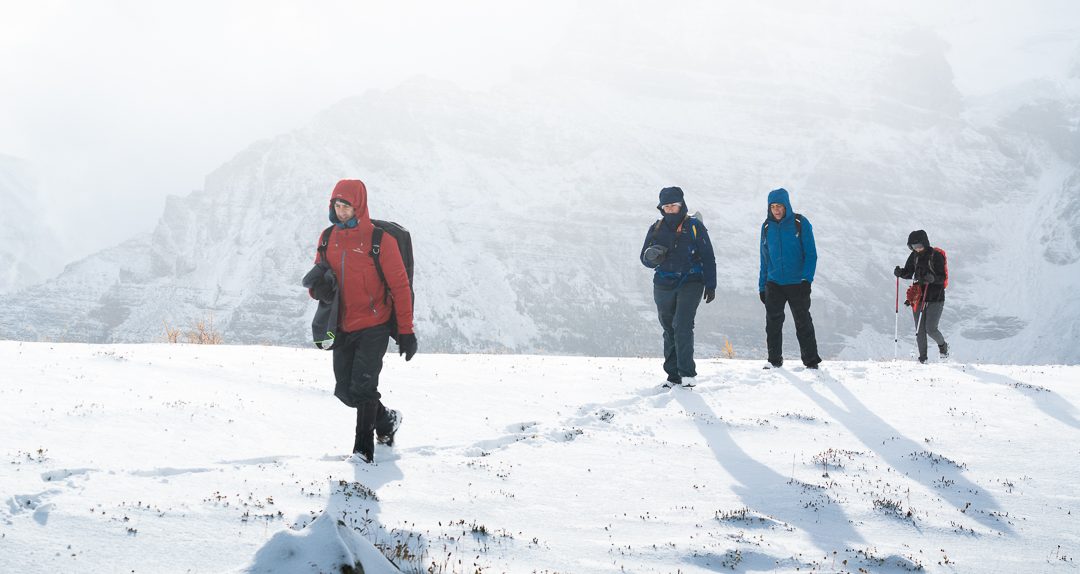
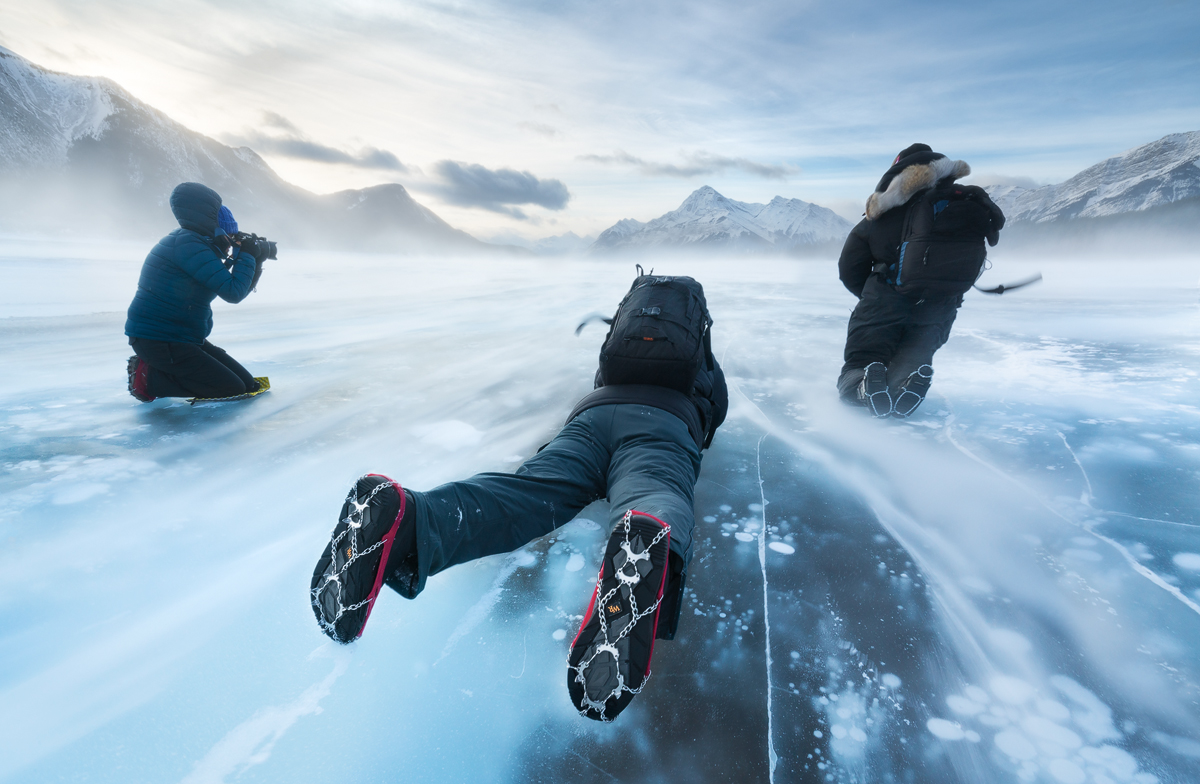
Preparing for a photography trip in the winter in The Canadian Rockies is much more challenging than in other seasons and you need to be prepared with the right outdoor winter gear in order to get the most out of your time in the field, but most importantly to be safe and comfortable while out there. This will have a huge bearing on your enjoyment and ability to come home with great photographs.
I’m going to outline some outdoor winter gear that I recommend you take a look at bringing while planning your photography trip to the Canadian Rockies in winter.
The most important items….
……and the outdoor winter gear I would never leave home without include;
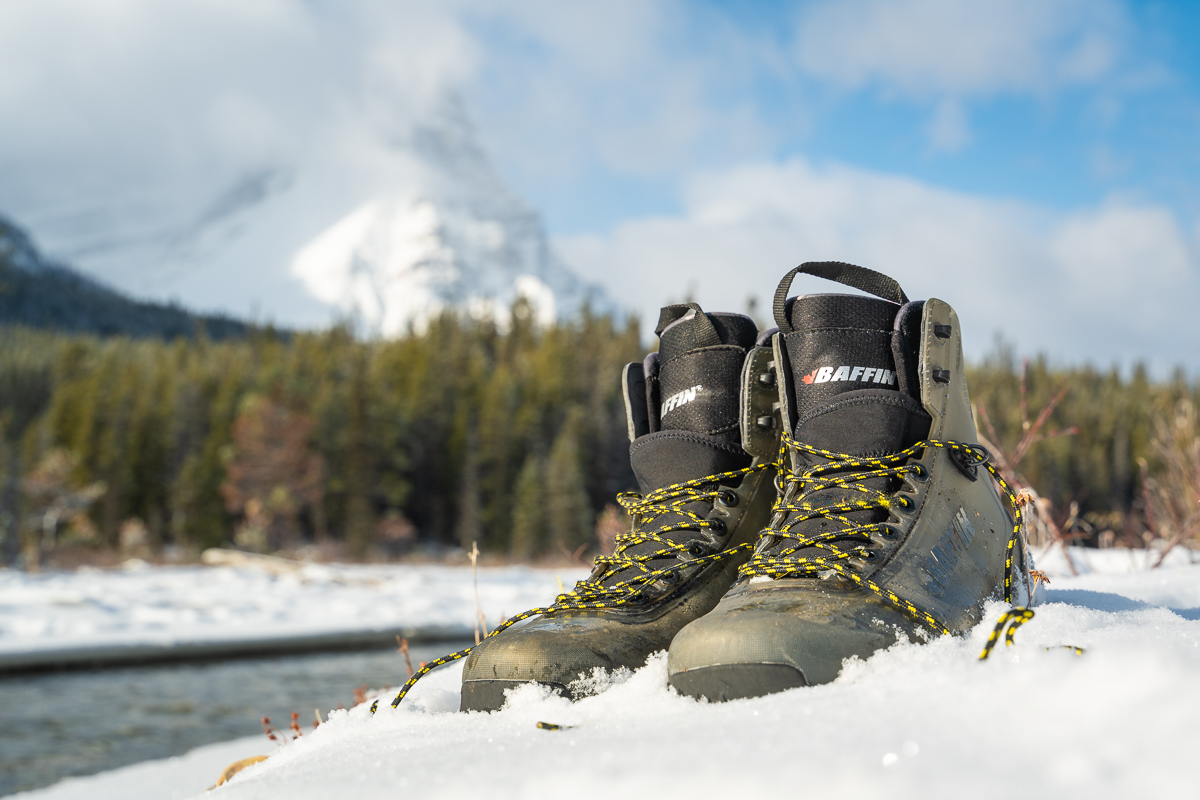
- Insulated winter boots – the equal most important item for me. I have a few different boots that give a temperature grading and I aim for –20 celcius or better. I like a hiking style winter boot for when I walk around like the BAFFIN ‘Borealis’ boot found here – https://www.baffin.com/ (and pictured below). It offers me the most versatility while still keeping me warm. I also have winter boots from SOREL (https://www.sorelfootwear.ca/) which are better in more extreme cold (rated to –60 Celcius) but aren’t as agile to get around in. BAFFIN sells boots with more extreme ratings as well. Both of these companies are excellent Canadian based options. Trying before buying for the best fit is really important and also knowing your intended activity. I’ll often add toe warmers to the more active boot to cover me if needed. You can even buy remote controlled heated insoles like those offered by ThermaCELL to add to the boot which can be found at Canadian Tire, Marks or on Amazon. Keep in mind your normal hiking boots from the other 3 seasons will not cut it standing on snow and ice for any length of time, you need winter specific insulated boots.
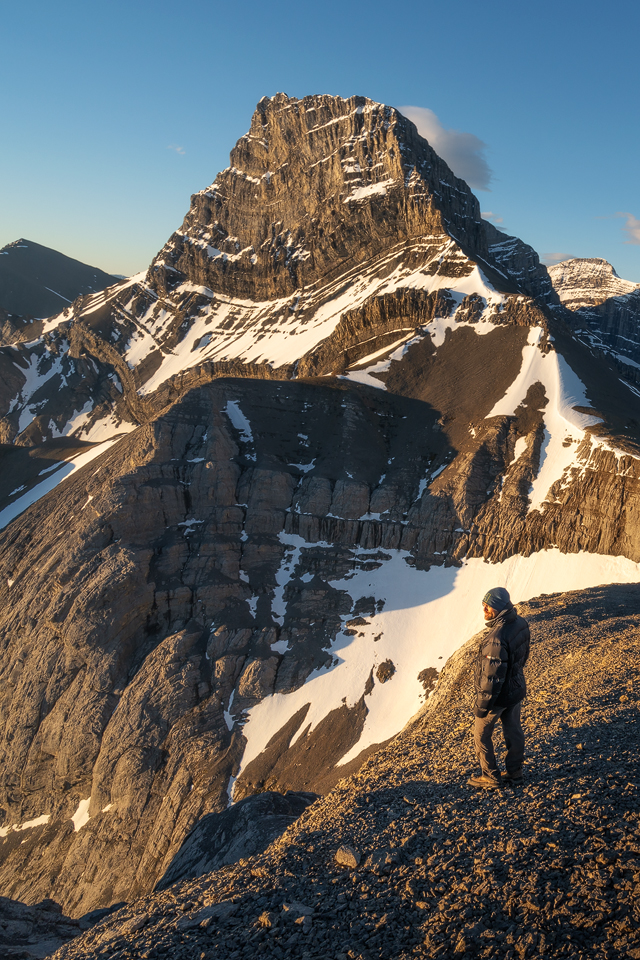
- A down jacket – the equal most important item for me. I never leave home without a down jacket that is rated for extreme temperatures. Often I’ll be waiting around for a shot and even in normal winter temperatures you get cold standing around so go with the highest down fill number possible. I have these two down jackets currently, both 800 fill down – one by BAFFIN – The ‘Nepal’, and one by RAB – https://rab.equipment/. The RAB one is more pack-able and lighter, It’s their Neutrino Pro Jacket. Both work great. Even if you don’t wear it it should be in your bag.
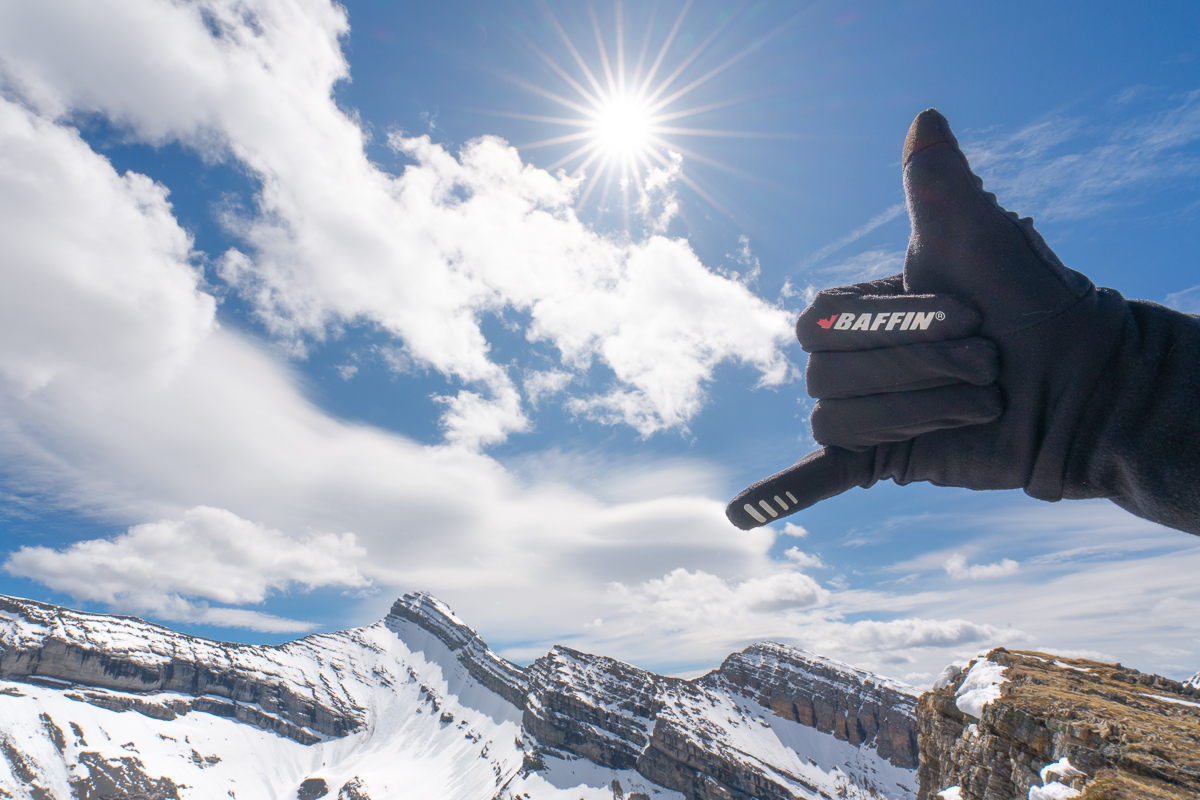
- A multi layered glove set-up – the equal most important item for me. Light tactile inner gloves that you can operate the camera with + bulky snow gloves that go over the top of the inner gloves. Double layers of glove work best for photography in winter. I like mitt style of each so my fingers keep each other warm as I am prone to very cold fingers and toes. A set up from the Heat Company that I use works great – https://www.theheatcompany.com/en-ca/gloves – I use a liner and a shell and you will notice the shell allows you to conveniently use a zipper to expose just the fingertips of the liner underneath for camera use. A heat pack can even be zipped into a special custom pocket on the back of the shell. I regularly go through inner gloves as they tear under heavy use. BAFFIN and MEC (Mountain Equipment Co-Op) offer good versions which I also own.
- Thermal layers – breathable base layers are critical and I basically live in them in winter. MEC and Helly Hansen offer good products.
- Breathable fleece mid layer – Layering helps you regulate your body temperature effectively by adding or taking off layers as necessary with your activity and the temperatures. I have a few different types. MEC and The North Face offer great products.
- An outer shell offering wind protection – BAFFIN and The North Face have outer shells I like. It is often the most you will need in winter with the essential down jacket listed above being the last line of defence after this layer. When I stop activity I’ll put the down jacket on over the top right away if it is cold.
- Pants to suit the activity and temperature – I have waterproof active pants and heavy duty insulated ski pants. Depending on how cold it is and how much I’ll be moving around I switch between the two versions. It’s nice to be able to sit and kneel on the snow when you are photographing especially getting a low down composition so it’s critical that they are waterproof for me.
- Toque/beanie
- Ice cleats – Save yourself and your camera gear and just put them on anywhere where you could encounter ice or a packed slippery snow trail. The Kahtoola’s are the best in my opinion – https://kahtoola.com/ or click here for the link to them at MEC.
- Gaiters – I always wear these in winter so I don’t get snow in my boots which is very uncomfortable. If you like to roam and have no boundaries when it comes to finding your compositions then they are essential as you will be walking through snow. MEC sells a pair I just re-buy every few years when the last ones finally break – The Kokanee gaiters. If it is a one time visit to The Rockies in winter for you then you can probably do without them but if you are in a winter environment regularly then buy a pair.
- Towel – I use a small camping towel when it is snowing so I don’t get build up on the camera which can then melt. I also change lenses under the same towel in snowy conditions. An umbrella works well too.
- Bear spray – Bears spend a lot of winter in their dens but the males don’t go into their dens until late (end of December by some reports) and come out early too (early March on average). They can also come out of their dens during this time if disturbed (most often by an unsuspecting skier or ice climber). Bottom line is it’s good to carry it and it could ward off other animals which have been known to approach people if they are sick, surprised or food conditioned. You can buy it at MEC or in any outdoor store.
Outdoor winter gear of secondary importance…
……that I bring occasionally but are critical and go on the ‘most important’ outdoor winter gear list above in certain weather conditions or for certain activities include;
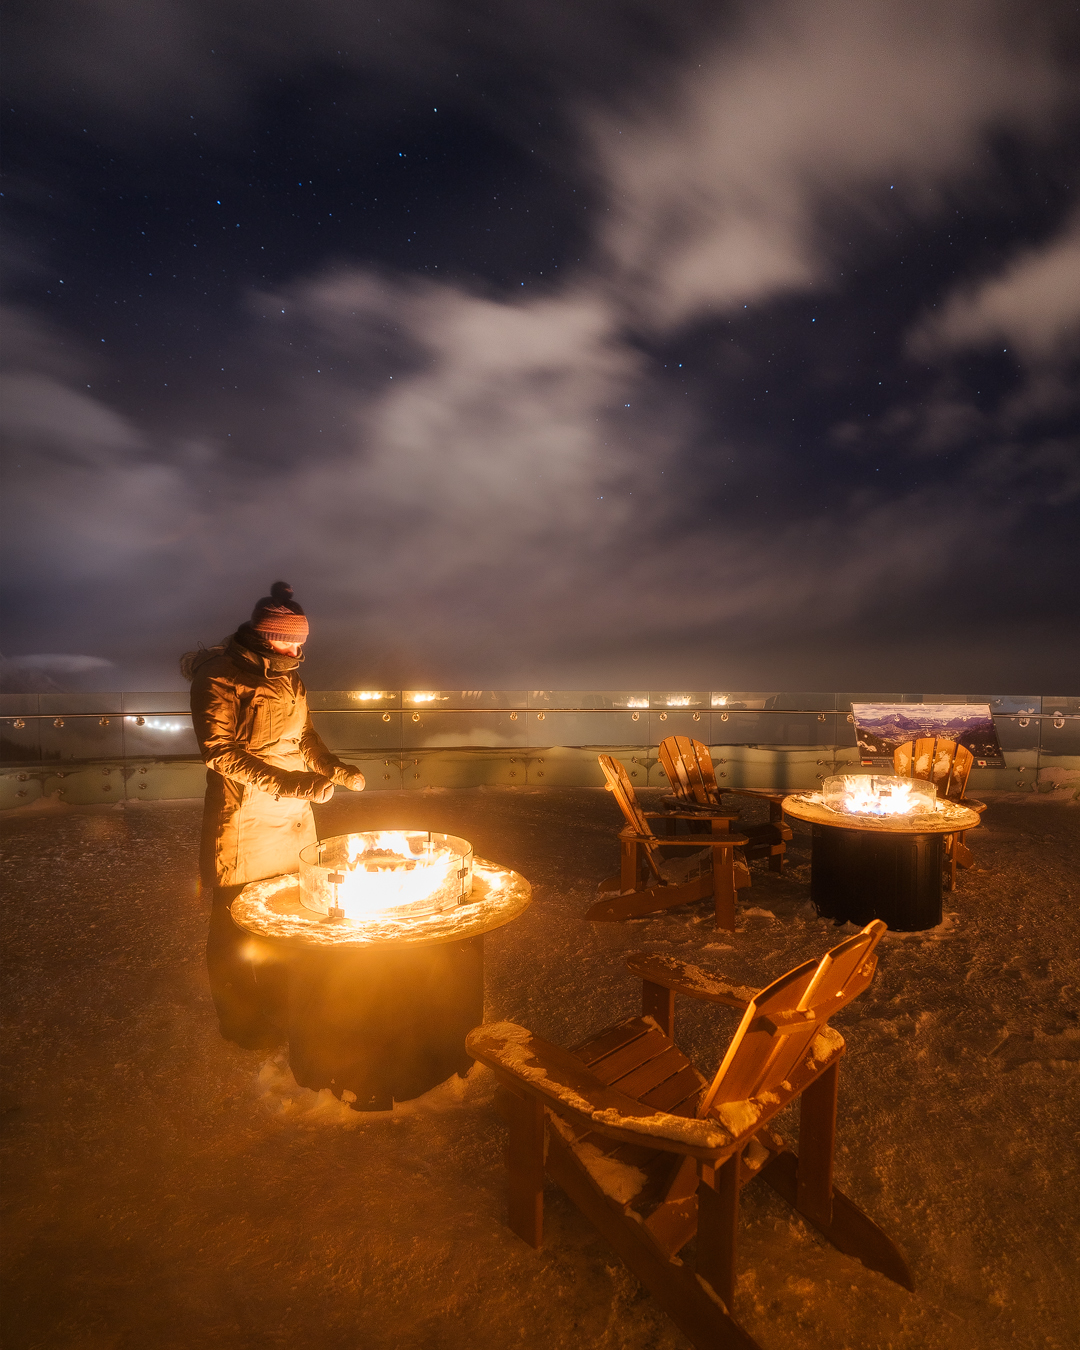
- Neck warmer/face covering – Essential at Abraham Lake where winds can be extreme. Makes a huge difference. Hand/Foot & Toe warmers – buy a box of these from Canadian Tire and throw some in your bag just in case.
- Waders – Save yourself the hassle and buy a good set, not a cheap set, from the get go. Simms or Orvis are the best brands. The cheap ones always leak after a period of time. If you want a next level composition then gumboots only get you so far – shin deep really. You often need to get knee deep atleast at some point to get to where you want to shoot from. I’d recommend putting the ice cleats on the bottom if they come pre-fitted with a boot or adding proper grippy wader purposed shoes to the purchase if they only have the sock. You are putting yourself and your gear at risk going for these types of shots. It is worth it though. An insulated rubber boot with a vibram sole like the Arctic Ice Muck Boot is a good alternative, especially in winter time. If backpacking with your waders consider hip waders or kayak pants.
- Satellite Phone – Essential to have if you will be outside of cell phone reception like on the Icefield’s Parkway. Garmin sells tiny versions now which can clip onto your backpack and can be operated via an app on your phone. You can trigger an immediate rescue if you have an accident.
- A foam pad – surprisingly a hidden gem to have with you. Everyone will be jealous of you if you happen to have one to sit or kneel on while out photographing. MEC sells a great one and its dirt cheap – I bring this if I know I’ll be waiting in one spot for an extended time.
- Hiking poles – If I am snowshoeing or travelling uphill in winter it’s always easier with poles. In summer I like to use just one for balance but in winter two is better – most come with snow baskets for the foot of the pole as an optional attachment.
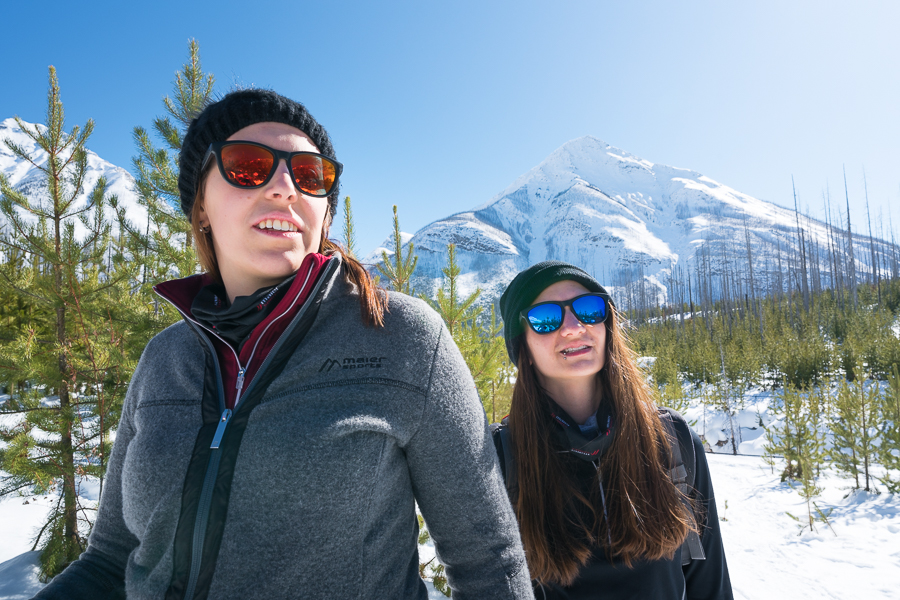
- Sunglasses – If it is a bright sunny day the reflectivity off the snow can cause you eye damage if you’re outdoors for a prolonged period of time. Sunscreen and lip balm are in this same category, bring them if you will be exposed to the sun in winter for long periods of time.
Safety considerations in winter in the Canadian Rockies
It is worth mentioning a few of the hazards in winter here in this discussion as it can help emphasize why you will need the outdoor winter gear I recommended.
- Frostbite – Your extremities and face are at the biggest risk during winter, especially as you stand around waiting for a shot. It’s the first spot to get cold. Regular checks are important to make sure your fingers and nose are not turning white. If it happens then you will need to immediately stop the activity and re-warm the areas slowly. You could risk permanent damage so extra attention and care is needed in extreme cold temperatures. Hand and toe warmers are highly recommended to help and I take them with me anytime it is below about –15 Celsius. The Environment Canada weather report will indicate if frostbite is imminent if you head out but keep in mind you can get it in any sub zero temperatures.
- Hypothermia – If you don’t have the right clothing like what is listed above it can be surprisingly quick before your body motor function shuts down, you begin to shiver uncontrollably and your lips turn blue. Immediately stop activity go inside and re-warm and then layer up for the next time if any of these things happen. If you fall through ice on a lake into the water it can take just 1 minute to become hypothermic and be unable to rescue yourself.
- Slips and Falls – Everywhere is a slipping hazard in winter and even the most athletic people have come undone even in the Town of Banff crossing a road! I’d recommend wearing ice cleats at all of your photography locations for extra grip. I recently had a simple slip on ice covered by a thin layer of snow on flat ground and the camera smacked the ground because of it. It happens so quickly and can mean injury, costly repairs and stress. Take the extra time to put on ice cleats.
- Wind – Wind can shorten the time it takes to become hypothermic so checking wind chill values which are much lower than the expected temperatures will give you a better idea how to prepare for your day. Also, on ice, wind can be very dangerous. Take extreme care at places like Abraham lake which are wind prone. Being blown down or losing unattached gear is common during a chinook wind.
- Avalanche Terrain – Steep slopes anywhere are always a risk to avalanche in winter, even if you are at a valley bottom you could be at risk. Don’t stop or get out of your vehicle in zones indicated as no-stopping zones due to avalanche. Also don’t go hiking off into areas or along trails that may cross avalanche paths, atleast not without completing an avalanche safety course first, and carrying a beacon/shovel/probe and being accompanied by similarly trained partners. Yamnuska offers an AST1 course to get you started on the right path.
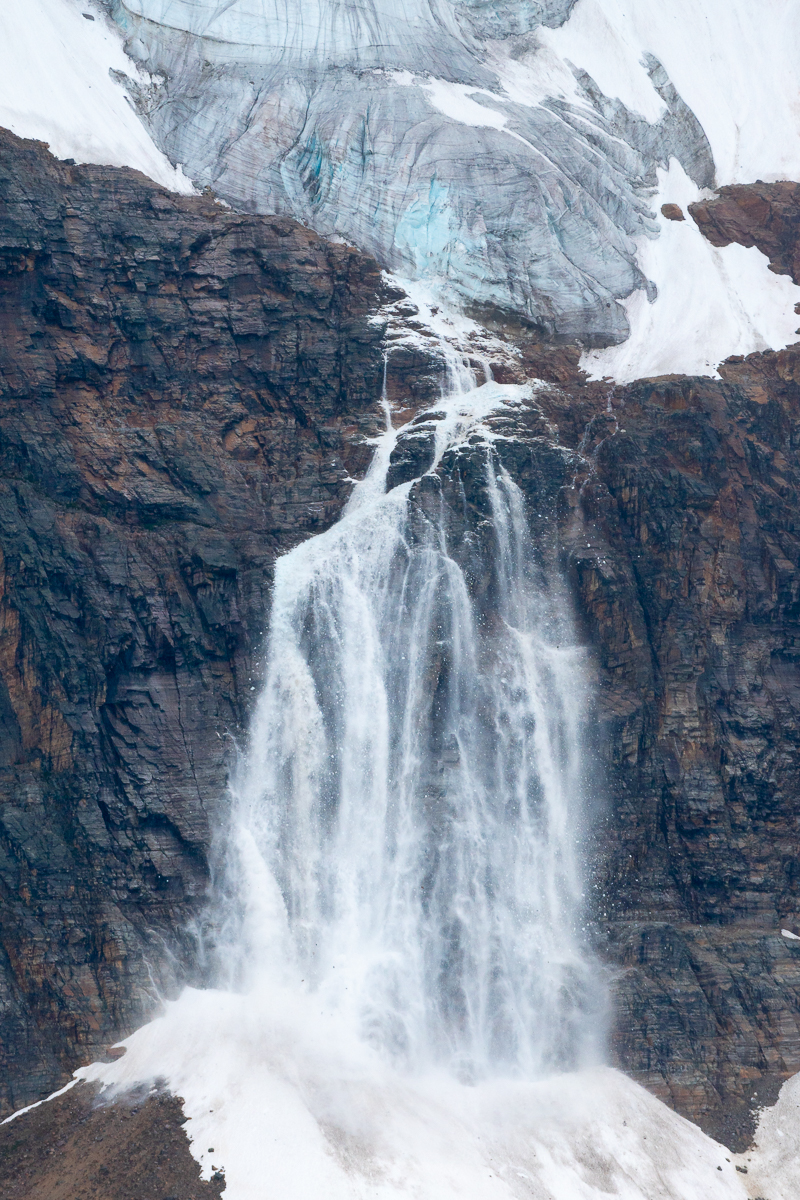
- Overhead hazards – Falling ice is the big one here so be wary if you visit a waterfall or if ice climbers are nearby. Rocks can also come loose really easily during the freeze-thaw cycle. If you expect to go into an area with overhead hazard then take a helmet.
- Vehicle preparedness – In case you are renting a vehicle when you arrive winter tires are a must and even mandatory on some of the British Columbia sections of The Canadian Rockies (check for the snowflake symbol on your tires, M+S (Mud and Snow) work OK as well but try to ensure you have the better snowflake symbol tires. Car rental companies may not provide a winter tire equipped vehicle unless you ask for it. Pack your vehicle with blankets, extra clothing, hot water in a thermos, a stove + fuel, and snacks in case of an emergency situation where you break down outside of reception – on The Icefields Parkway for example. Travel in convoy with a friend in another vehicle in extreme temperature situations for more safety.
Additional Tips for photography in winter in The Canadian Rockies
Some things that I’ve picked up over the years from photographing here that aren’t focused on your outdoor winter gear include;
- Buy some rubber/foam to attach to your tripod so that you aren’t touching the aluminum or carbon fibre. I found some at the home hardware store and put it around the upper leg sections.
- Bring more camera batteries than you think you will need and store them in a warm place (close to your body works well). They drain especially fast in the cold. This applies even more to crop sensor cameras and cameras without good weather sealing.
- You can attach some heat packs to your camera battery area in extremely cold temperatures which can help. This is more effective in a sock with its end cut off than attached with just elastic bands as the warmer doesn’t work as well exposed directly to the cold. A dew heater also works to ward off the frost that can form on the lens if shooting for an extended period of time like when shooting a timelapse in winter.
- Set your camera up in a way so that you can operate it with your gloves on. That means maybe customizing the buttons in a certain way or removing the functionality of some of them so you don’t bump the wrong dials or buttons. You will quickly discover these ones!
- Consider a remote that allows you to trigger your camera from inside the warmth of your vehicle.
Stay warm this winter! 
…and stay safe!
If you are travelling to The Canadian Rockies in the future I offer private guided photo tours all over The Canadian Rockies as well as some multi day winter photography workshops like this one coming up in January 2021 – listed on Eventbrite here.
Thanks for reading all about my outdoor winter gear recommendations! Sign up for my mailing list here to hear about all of my future winter photography opportunities in The Canadian Rockies: